
Easy DIY At-Home Facial Recommendations From A Licensed Esthetician
The benefits of a little extra time on your skin for a weekly at-home facial are endless: detoxifying, anti-aging, improving skin circulation and skin tone, reducing acne, improving overall stress levels, and more. We break down the steps for your easy DIY facial...
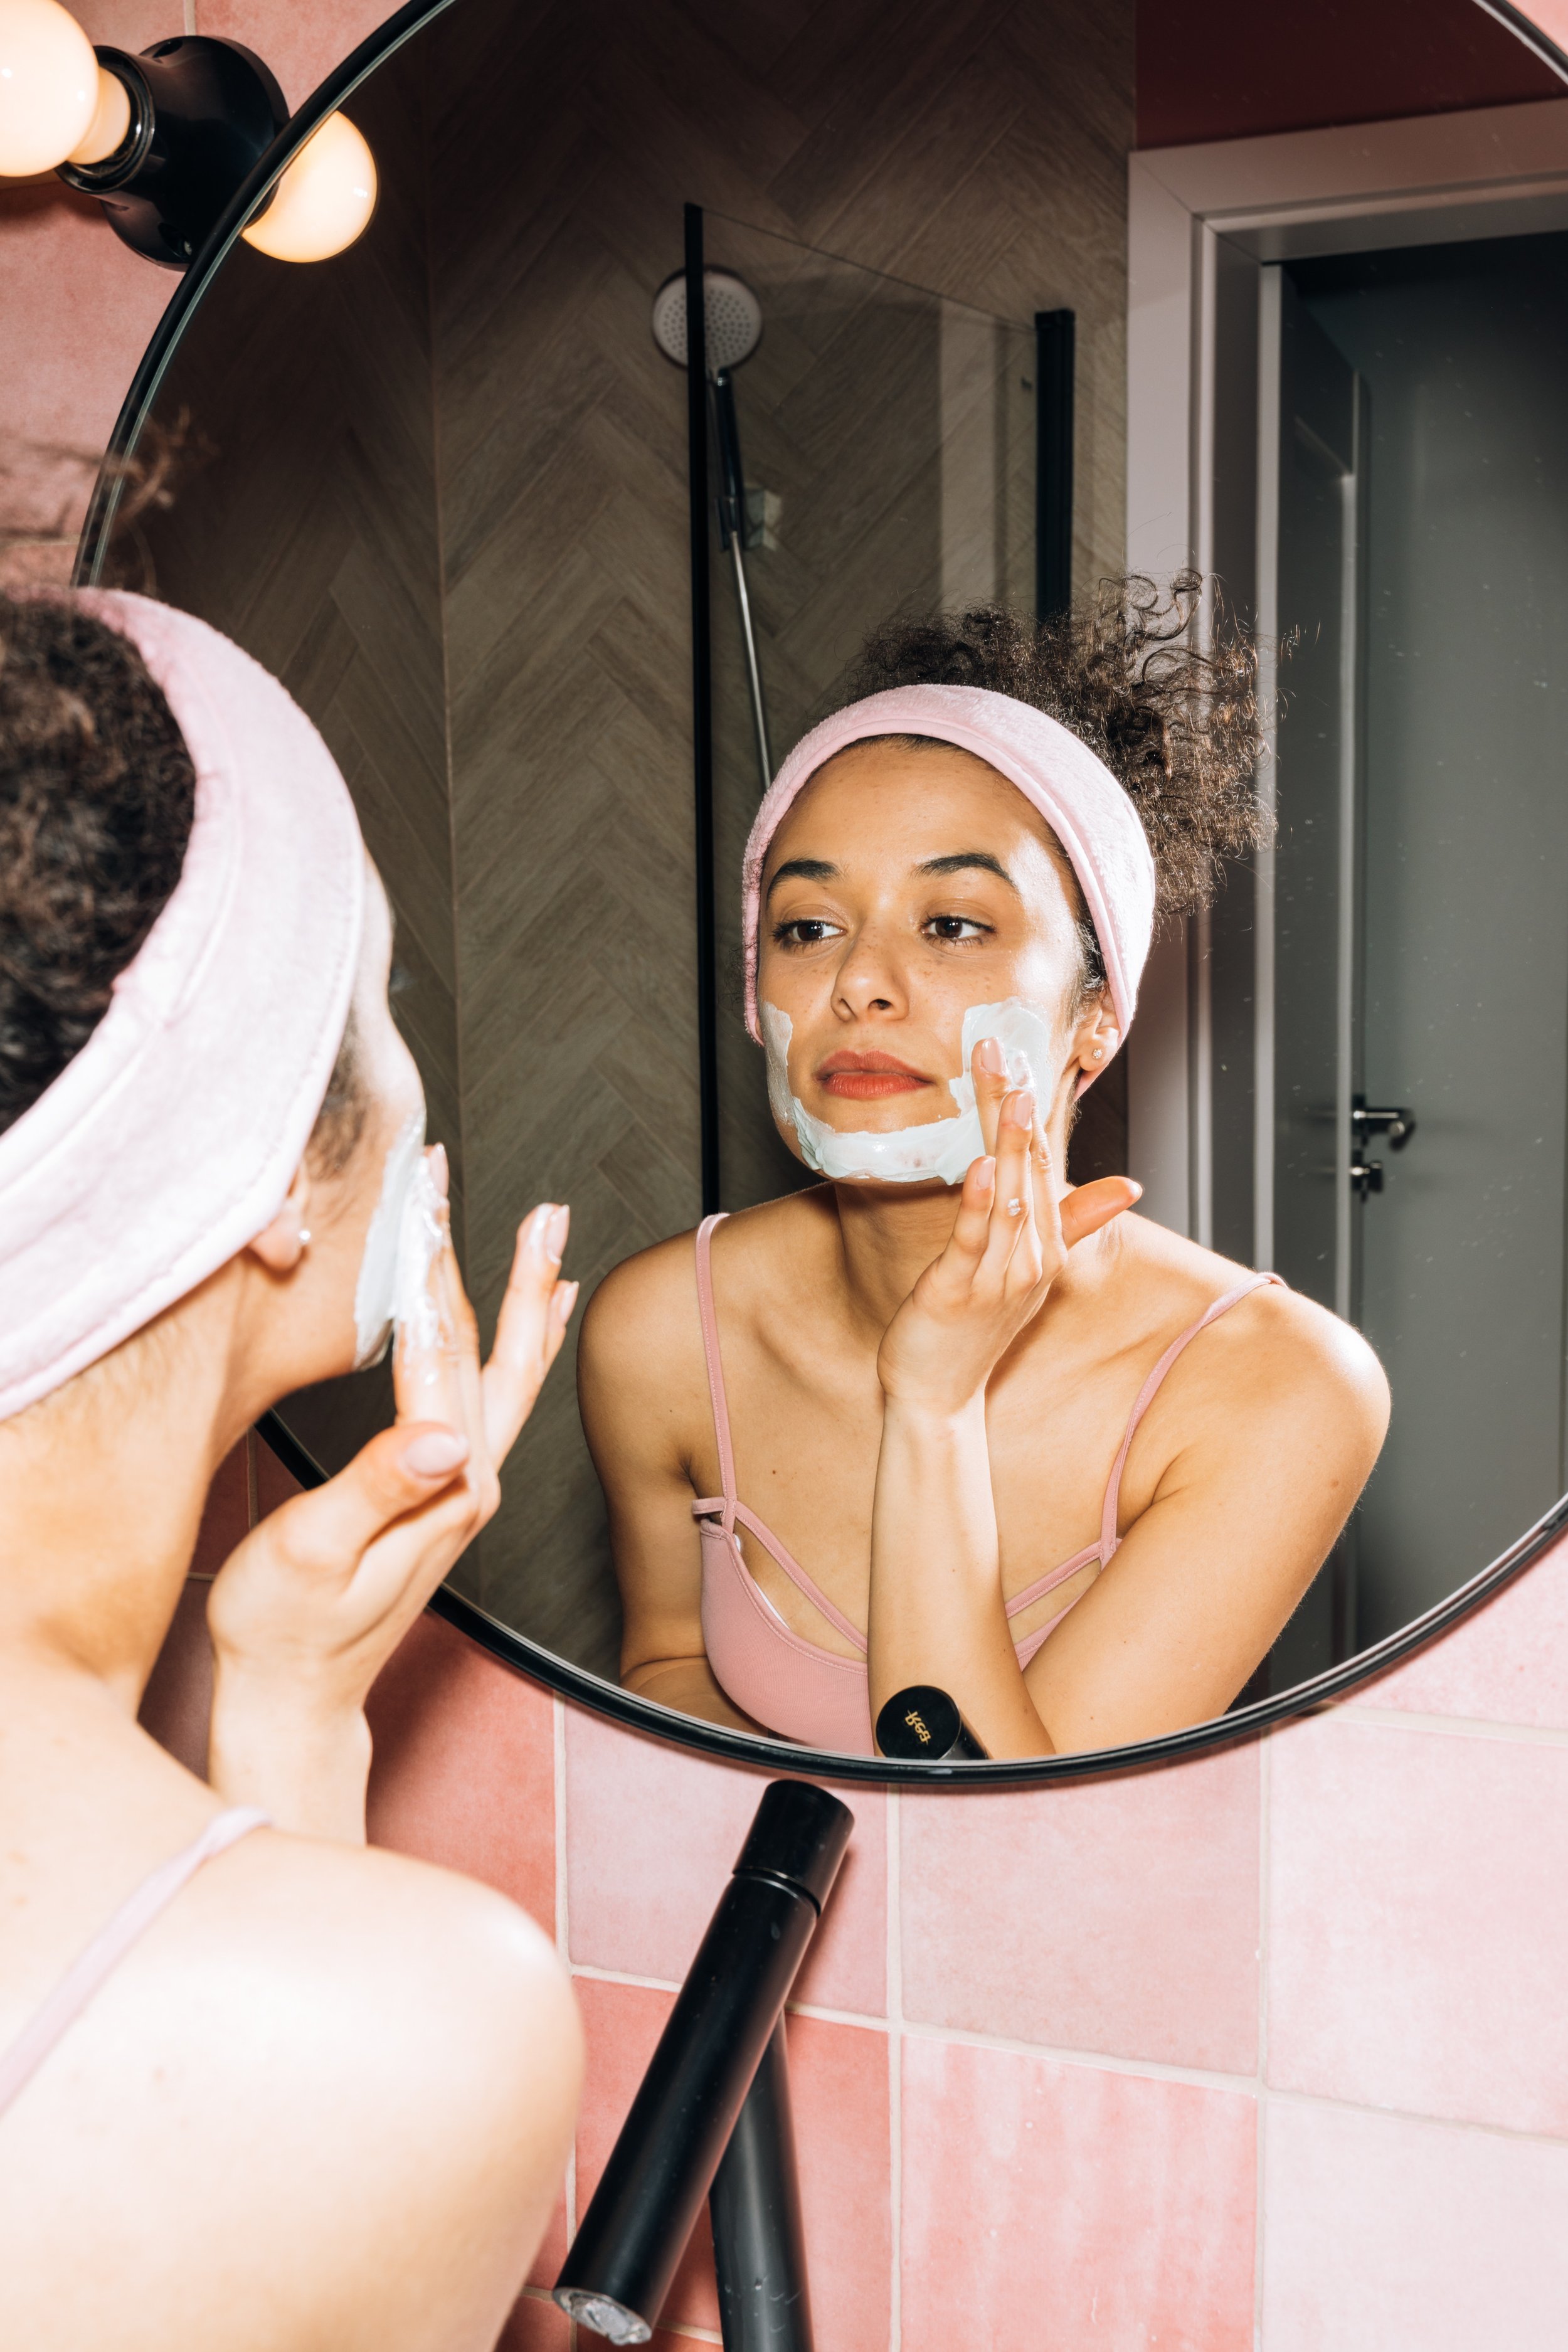
As a licensed esthetician, I believe facials truly have the power to transform your skin. In times where going into a spa setting may be more difficult, there are a few things you can incorporate into your at-home routine to get glowing skin at home. It is the perfect way to detox, soothe, and hydrate the skin, not to mention, taking time for a little self-care. I love taking this time for myself and seeing results, and you should too! Preferably as your day is coming to a close, reap the benefits of a DIY facial!
Step 1: Prep & Cleanse
Start by prepping your hair by tying it up, using a headband, or twisting it up in a towel. Remove your makeup (if any) by using a natural oil such as avocado or jojoba. Using warm water, apply cleanser to damp skin, massaging gently for 1 minute into face, neck, and décolletage. Rinse.
Step 2: Steam
Yes, you can steam at home! Steam is great for releasing impurities and promoting circulation and is an important step. If you do not own a home facial steamer, try this method: boil 6 cups of water on the stove, add a handful of herbs, reduce heat, cover and simmer for 2-3 minutes. Pour water into a large bowl (add essential oils here if preferred), have a seat, and drape a large towel over your head as well as the bowl/sink. Keep your face about 10 inches above the water for 5-10 minutes. You could also make your own steam towels by soaking small towels in hot water, wringing them out and applying to your face.
Step 3: Exfoliate
Exfoliation removes dead skin and improves skin tone and texture. I find many clients are not exfoliating enough. Once per week is sufficient, and when you do, the active ingredients in your products will penetrate deeper. You have the option of a physical or manual exfoliant and a chemical exfoliant.
Types of Exfoliators - Learn more about the Nitty Gritty of Exfoliation
Physical exfoliators include scrubs containing beads (jojoba beads are great, as they are spherical and will not cause micro-tears and are environmentally friendly) or dry grains to be mixed with water. Use a dime-size amount of scrub (add a hint of water if using a dry grain) and gently buff with your ring and pinky fingers in circular motions. I like to make sure I exfoliate my décolletage and neck as well. Rinse with warm water.
Chemical exfoliation is also a great way to unveil smoother and brighter skin. Examples of chemical exfoliators include; fruit enzymes, AHAs: alpha-hydroxy acids, such as lactic and glycolic acid, and BHAs: beta hydroxy acids, like salicylic acid. Chemical exfoliants are effective because they include ingredients with low pH levels, in turn loosening the bonds between skin cells. You can really get your skin glowing with acids at home. Follow the appropriate directions closely.
Mask’s are great for evening skin tone, refining pores, and boosting hydration. Charcoal masks specifically aid in removing skin impurities by helping to detox and decongest. Hydrating masks will deliver a surge of moisture for dry and dehydrated skin types. Apply a mask pertaining to your concerns. Masks are typically left on for 10-15 minutes, though I leave hydrating masks on longer if I have time. While you wait you could recline and place a cucumber slice over each eye to combat puffiness. Remove with a warm towel or warm water.
Step 5: Treat
Serums are highly concentrated and have a small molecular structure so the active ingredients deeply penetrate the skin. There are many types including vitamin C, peptides, retinol, and hyaluronic acid. I like making a serum “cocktail” by mixing a couple of favorites with a hydrating mist. Press into face, neck, and décolletage. You could also incorporate some facial massage at this step to support circulation and lymphatic drainage.
Step 6: Moisturize & Hydrate
To seal in the results of your work, apply a moisturizer suited for your skin type with upward and outward strokes to your face, neck, and décolletage.
The skin around your eyes is the most fragile of the body so it is important to keep it well hydrated. Using your ring fingers (the weakest finger of the hand) gently dot a small amount of eye cream on and around your orbital bones. (I also recommend using an eye cream twice daily!)
Lastly, be sure to apply a lip balm or you could even sleep with a lip sleeping mask.
Enjoy the refreshing and rejuvenating effects, you are sure to see results if you incorporate simple weekly at-home facials!

Amanda Meehan
Licensed Esthetician